
Surfaces We Paint & Stain
Every Surface Has a System
Wood Siding & Trim
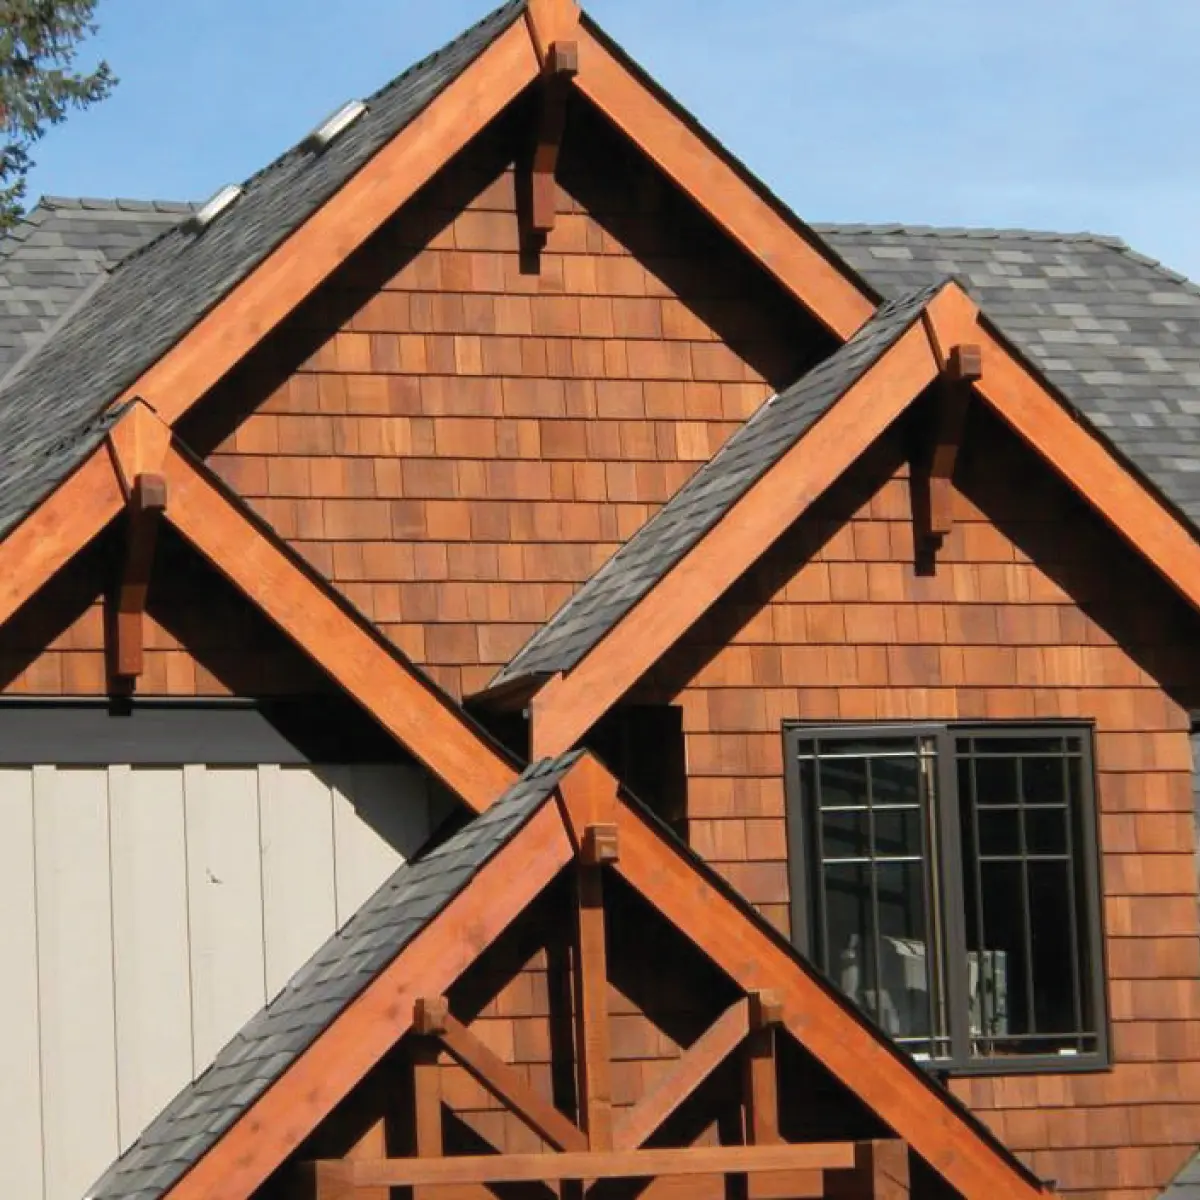
Wood is the most rewarding exterior surface to paint — and the least forgiving of shortcuts. Michigan's freeze-thaw cycles work moisture into every unsealed joint and end-grain, which is why wood fails at the edges first: window sills, fascia bottoms, trim returns. A wood paint job lasts as long as its prep and its weakest board, which is also why we pair painting with in-house rotted wood replacement instead of painting over failure.
- 1Low-pressure wash to remove dirt, mildew, and chalking — then let the wood dry fully (we check moisture content before any coating goes on).
- 2Scrape all failing paint back to a sound edge; replace any soft or rotted boards rather than bridging them with filler.
- 3Sand scraped areas to feather edges, and dull glossy spots so the new coat can bite.
- 4Spot-prime bare wood with Fresh Start Primer; use Peel Bonding Primer over stubborn alligatored or heavily weathered areas to lock them down.
- 5Re-caulk open joints, butt seams, and trim-to-siding gaps with a flexible exterior sealant.
- 6Back-brush the first coat into the grain — especially on rough-sawn cedar — before the finish coat.
Brick & Masonry
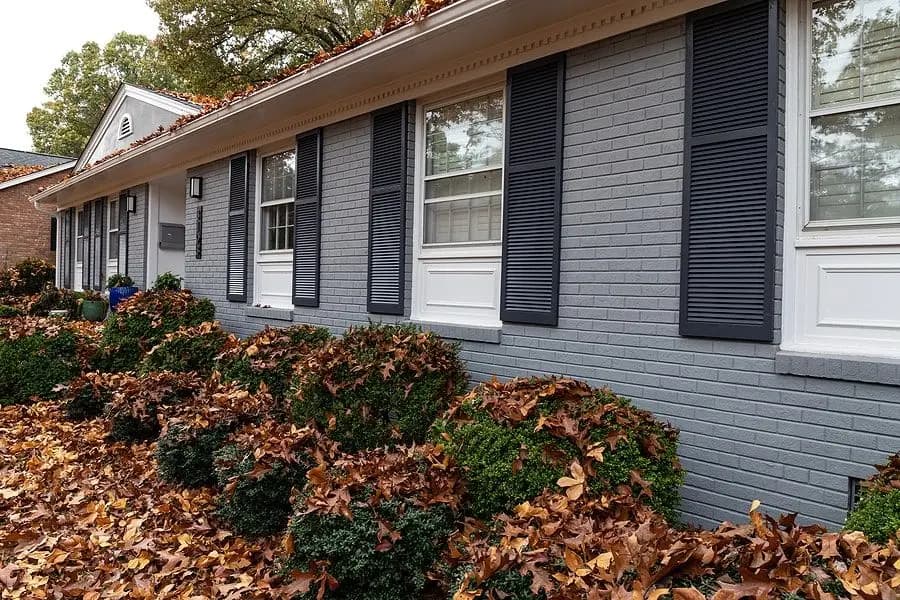
Painting brick is permanent, so it has to be done right the first time. Brick and mortar are porous — they drink water in the fall and push it back out through the paint film during spring thaw. The entire system has to breathe: trap moisture behind a non-permeable coating and it will blister and shed within a couple of Michigan winters. Breathable masonry coatings are a specialty, and they're one of ours.
- 1Wash to remove dirt, mildew, and any efflorescence (the white mineral bloom that blocks adhesion).
- 2Inspect mortar joints; repoint failing areas — paint can't hold cracked mortar together.
- 3Let masonry dry down to acceptable moisture levels; new brick or fresh mortar needs to cure before coating.
- 4Seal porous or chalky masonry with Ultra Spec© Masonry Sealer so the topcoat bonds to the brick, not to dust.
- 5Mask and protect adjacent stone, roofing, and grade before spraying, then back-roll coating into the brick's texture.
Aluminum Siding
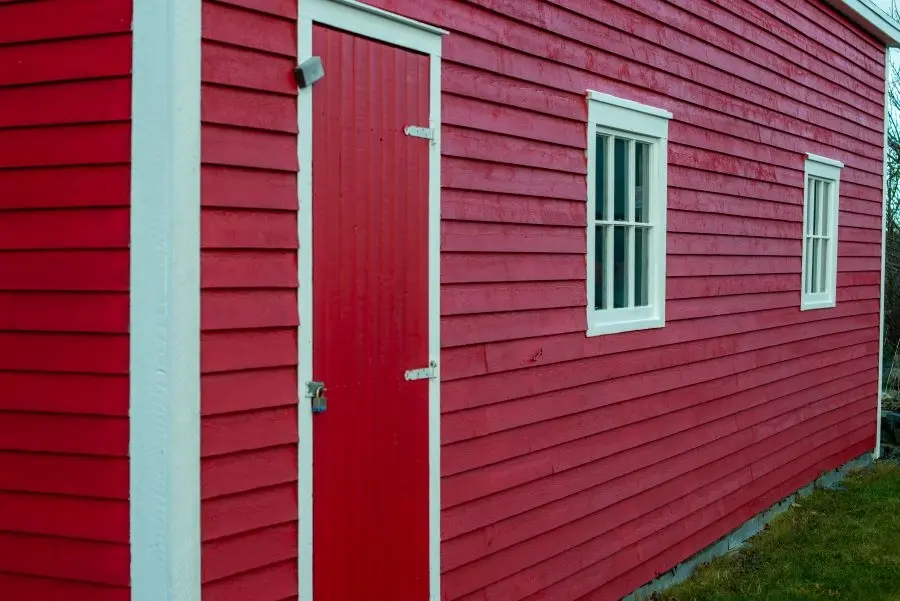
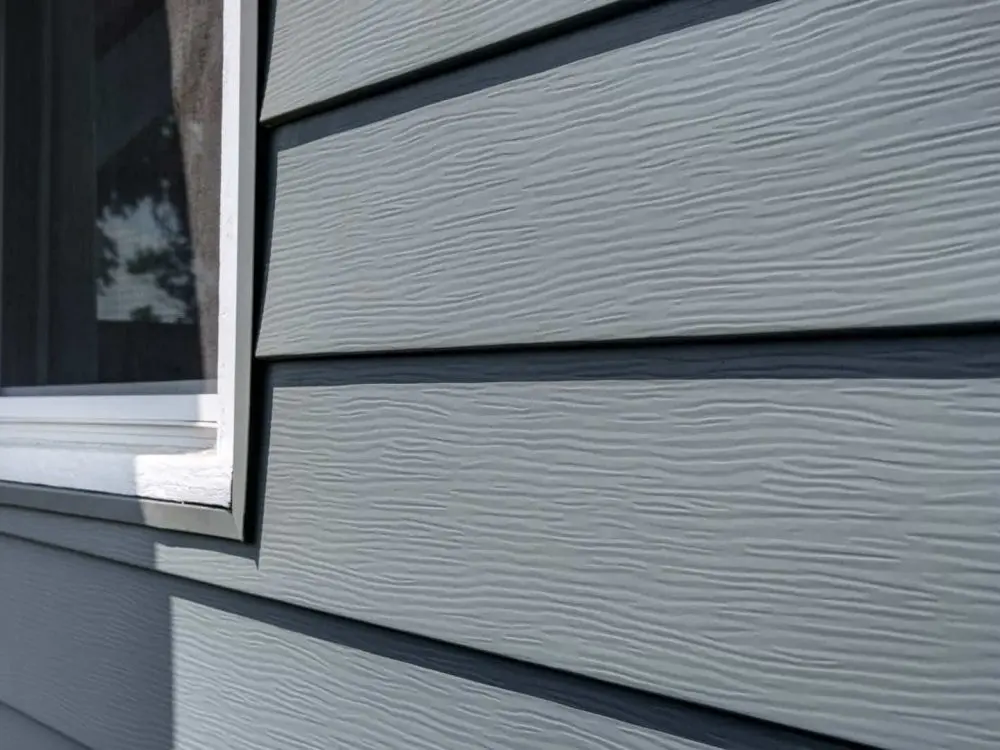
Thousands of Metro Detroit homes still wear their original aluminum siding — structurally excellent, cosmetically tired. The factory finish oxidizes into a chalky film that rubs off white on your hand; paint applied over that chalk peels in sheets. Refinishing aluminum properly costs a fraction of residing and, with the right system, the new finish routinely outlasts the original factory coat.
- 1Test for chalking, then wash with a cleaner that cuts oxidation — plain water is not enough on chalked aluminum.
- 2Rinse and re-check: coating doesn't go on until a wipe test comes back clean.
- 3Scuff-sand glossy areas and treat any bare-metal dings or scratches.
- 4Prime bare or worn-to-metal spots with Ultra Spec© Acrylic Metal Primer to stop oxidation under the new film.
- 5Spray-and-back-roll thin, even coats — heavy coats on metal panels show every lap and sag.
Vinyl Siding
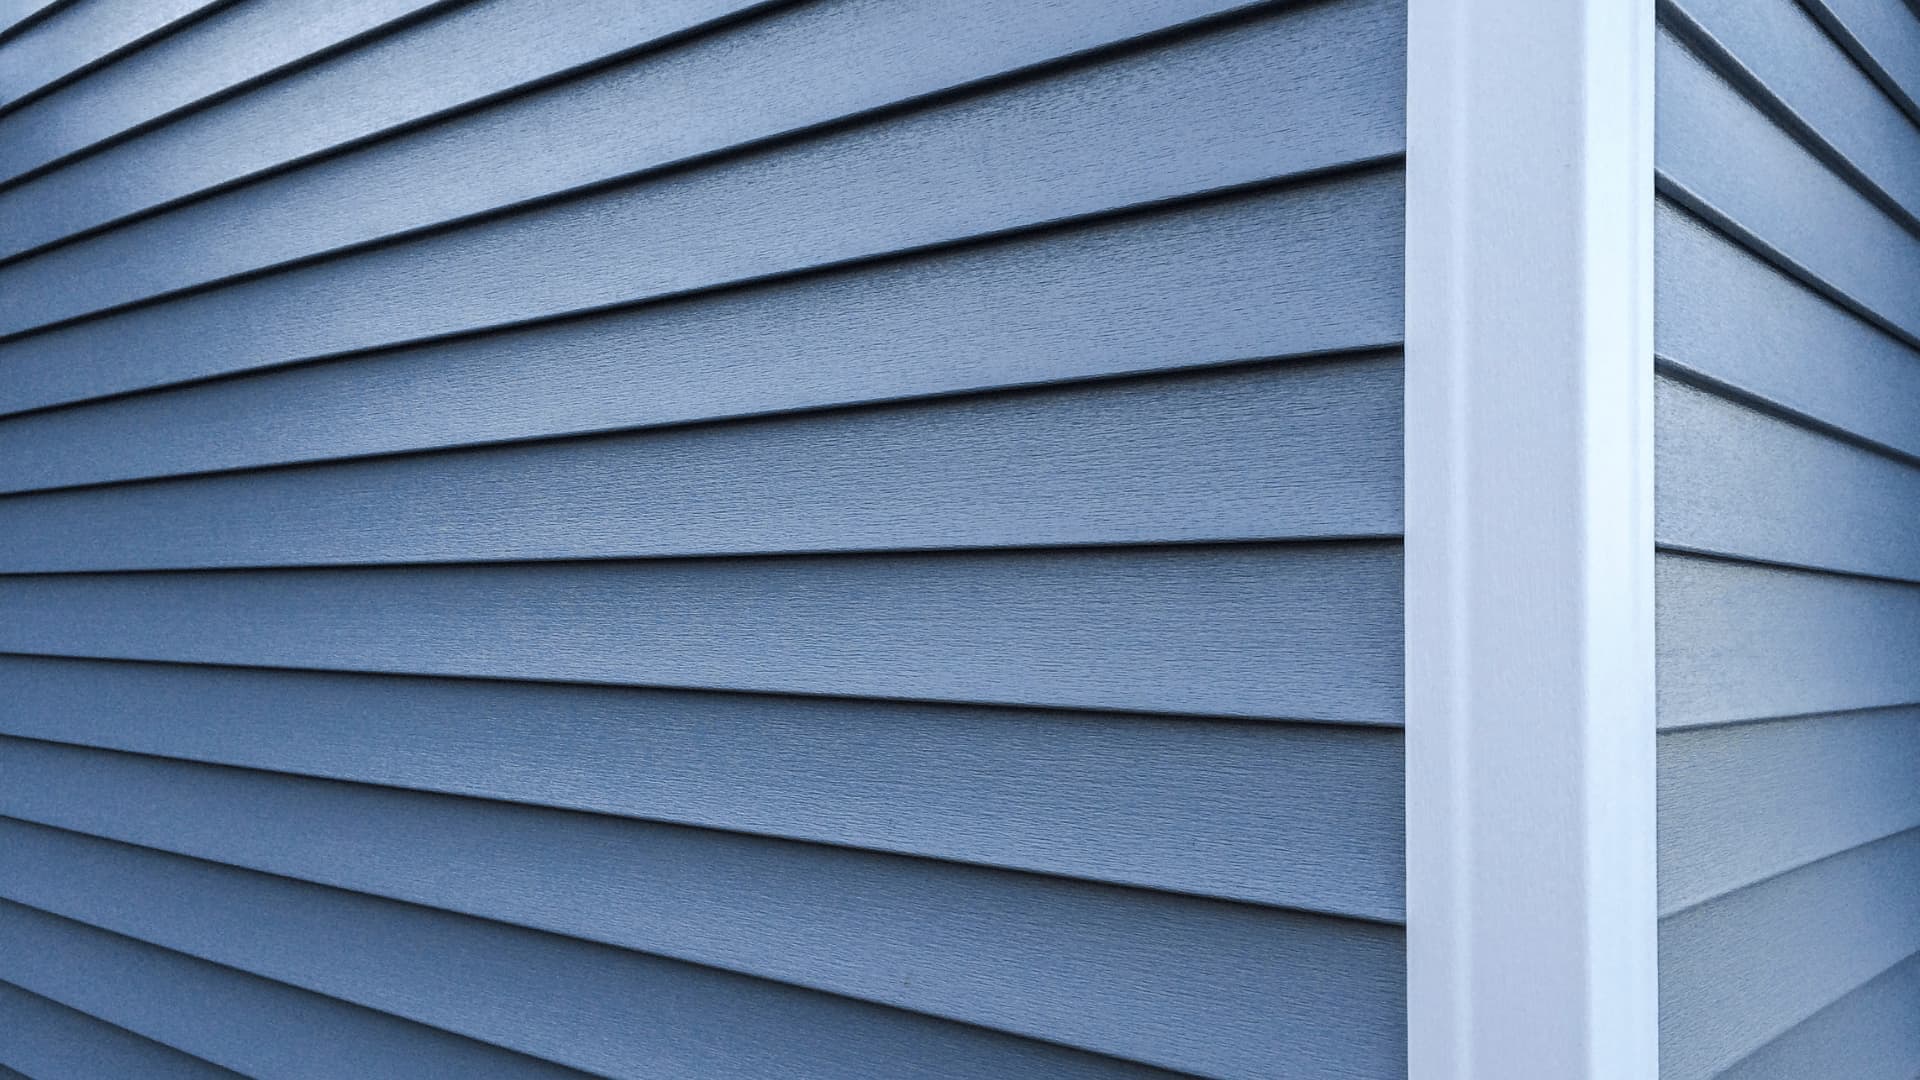
Yes, vinyl can be painted — but only inside the rules. Vinyl expands and contracts dramatically with temperature, and dark colors absorb enough heat to warp panels permanently. That's why we work from Benjamin Moore's Vinyl-Safe® color palette: shades engineered to keep panel temperatures below the distortion threshold while still transforming faded builder-beige into something you're proud of.
- 1Wash to remove dirt, mildew, and the powdery surface oxidation vinyl develops with age.
- 2Confirm the color choice is vinyl-safe for your siding's original tone — darker than original requires the engineered palette, no exceptions.
- 3Repair or replace cracked and brittle panels (we carry matching profiles through our siding division).
- 4Prime slick or heavily weathered areas with Stix© Bonding Primer — a urethane acrylic that grips PVC where standard primers can't.
- 5Apply two thin coats in moderate temperatures; vinyl painted in direct summer sun can flash-dry and lap.
Doors & Windows
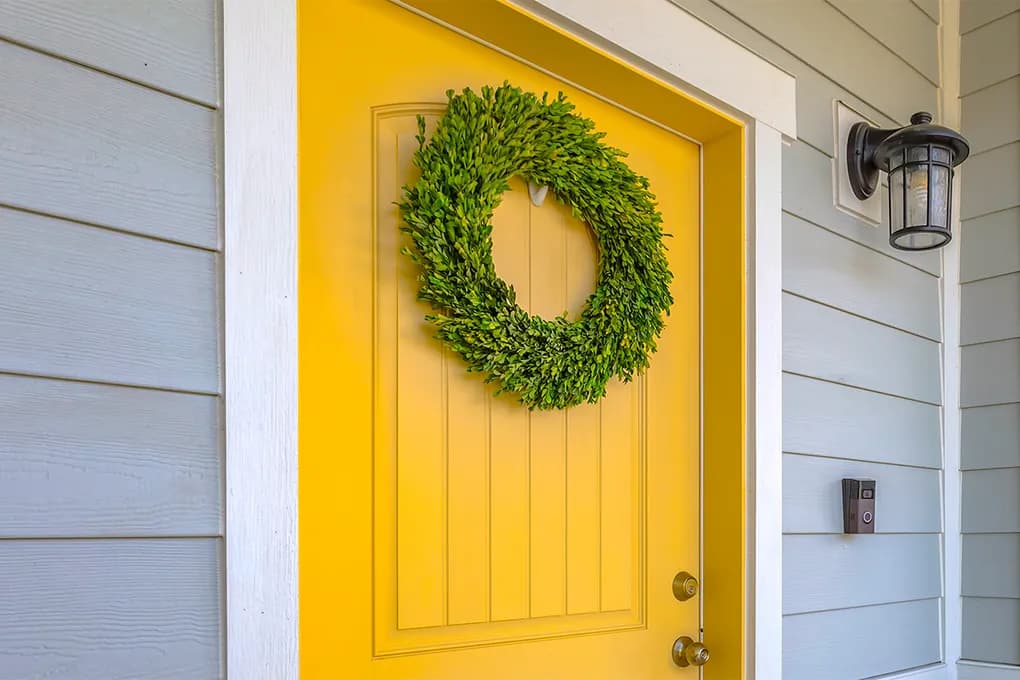
A front door is a two-hour paint job that changes how the whole house reads from the street. It's also the most-touched, most-slammed, most-weather-cycled painted surface you own — steel doors dent and rust at the edges, fiberglass fades, and wood doors move with every season. Door and window work is detail work: crisp lines, hardware off (not taped over), and a finish that levels out glass-smooth.
- 1Remove or fully mask hardware, weatherstripping, and glass — clean lines come from prep, not from steady hands alone.
- 2Degrease and scuff-sand the existing finish; factory door coatings are slick by design.
- 3Spot-treat rust on steel doors and prime bare metal; fill dents and dings smooth.
- 4Prime glossy or previously-troubled surfaces with Stix© Bonding Primer.
- 5Apply two finish coats with door-appropriate open time so brush and roller marks level out — then keep the door cracked until fully cured.
Shutters
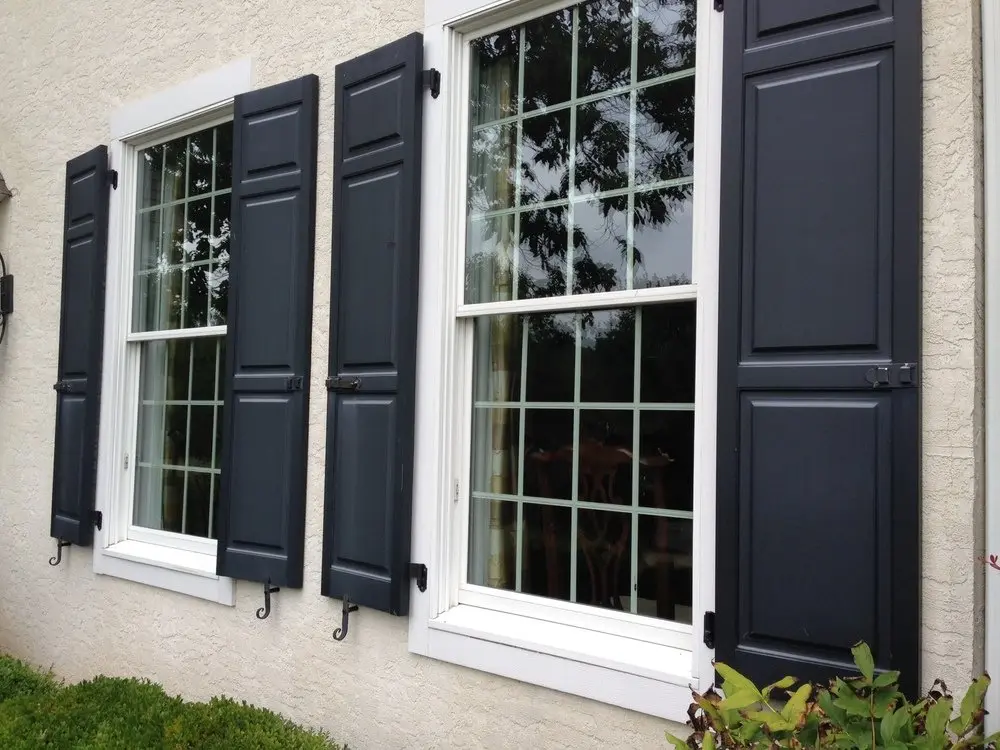
Shutters are the eyeliner of an exterior — small surface area, outsized impact on how finished the house looks. Vinyl shutters fade badly (especially dark ones on sunny elevations) and can't be replaced one-at-a-time without a visible mismatch; cedar shutters weather gray and loosen. Refinishing brings back depth of color for a fraction of replacement, and lets you re-tune the whole exterior palette while you're at it.
- 1Take shutters down whenever fasteners allow — finishing all four edges properly beats painting around them on the wall.
- 2Wash away chalking and mildew; scuff-sand glossy vinyl or previously coated surfaces.
- 3Sand and spot-prime bare cedar; re-set or replace loose fasteners and spacers.
- 4Prime vinyl and composite shutters with Stix© Bonding Primer for a finish that flexes without flaking.
- 5Spray-finish for a factory-smooth coat, then rehang with corrosion-resistant fasteners.
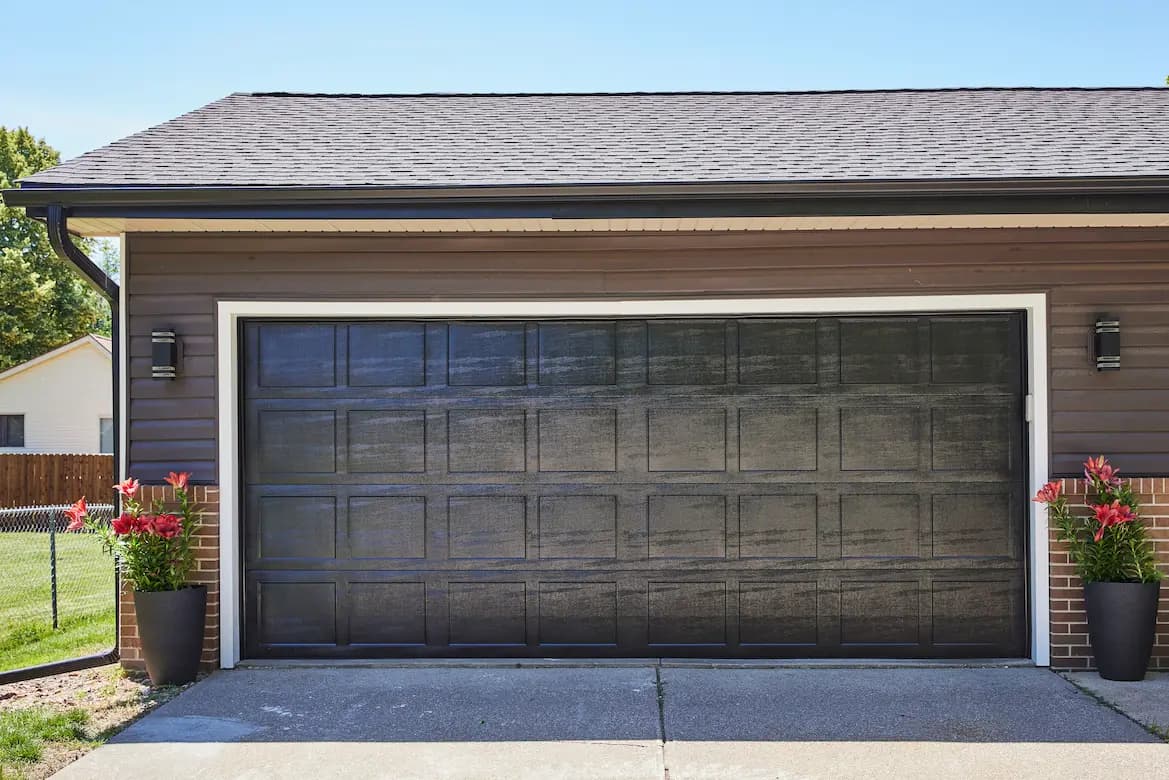
Garage Doors
On many Michigan homes the garage door is a third of the street-facing facade — and it takes abuse nothing else does: sun bake, road salt spray, basketball hits, and a hundred open-close cycles a week flexing every panel seam. Factory finishes on steel doors chalk and thin; wood-look doors fade unevenly. A properly refinished garage door reads as new from the curb.
- 1Degrease (door edges and handles carry surprising amounts of oil) and wash away chalking and road film.
- 2Scuff-sand the factory finish; treat rust at panel edges and hardware points, priming bare steel.
- 3Mask weatherstripping, tracks, and windows; disconnect the opener so the door can be finished panel-by-panel in position.
- 4Prime with Ultra Spec© Acrylic Metal Primer wherever metal is exposed.
- 5Apply thin, even finish coats — flexing panel seams shed thick paint films first.
Decks & Railings
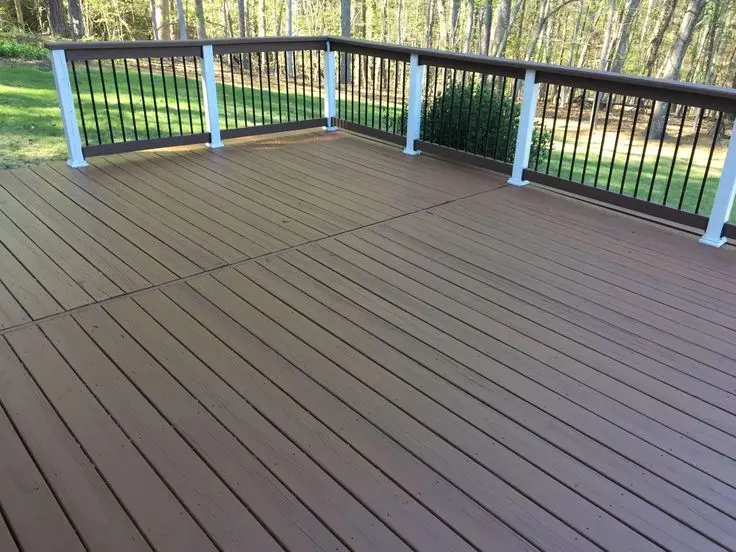
Horizontal wood is the hardest thing on a Michigan property to keep finished: decks hold snow for months, take direct UV all summer, and get foot traffic the rest of the year. That's why film-forming paints eventually peel on deck boards, and why we lean on penetrating stains that wear away gradually instead of failing visibly. Honest expectations matter here — deck finishes are maintenance coatings, recoated on a cycle, not once-a-decade paint jobs.
- 1Wash with a wood-appropriate cleaner/brightener to kill gray oxidation and mildew — power washing alone just drives the gray deeper.
- 2Let the wood dry to proper moisture content (we test; staining damp wood is the #1 DIY deck failure).
- 3Sand traffic areas and any furring raised by washing; re-set proud fasteners.
- 4Replace soft boards and secure loose railings before any finish goes down.
- 5Apply penetrating stain thin — on decks, a coat the wood can absorb beats a film sitting on top, every time.